
With the new platform, you will be able to do some really cool things that you could not previously. Faculty can now create and track batches for the courses available to their Institute. Faculty can teach and show videos in classroom full screen mode. They can add notes along with the course content and much more.
Let’s get you started.
1. Register on the platform.
2. Create a batch for courses listed.
3. Add students.
4. Start teaching.
1. User Registration
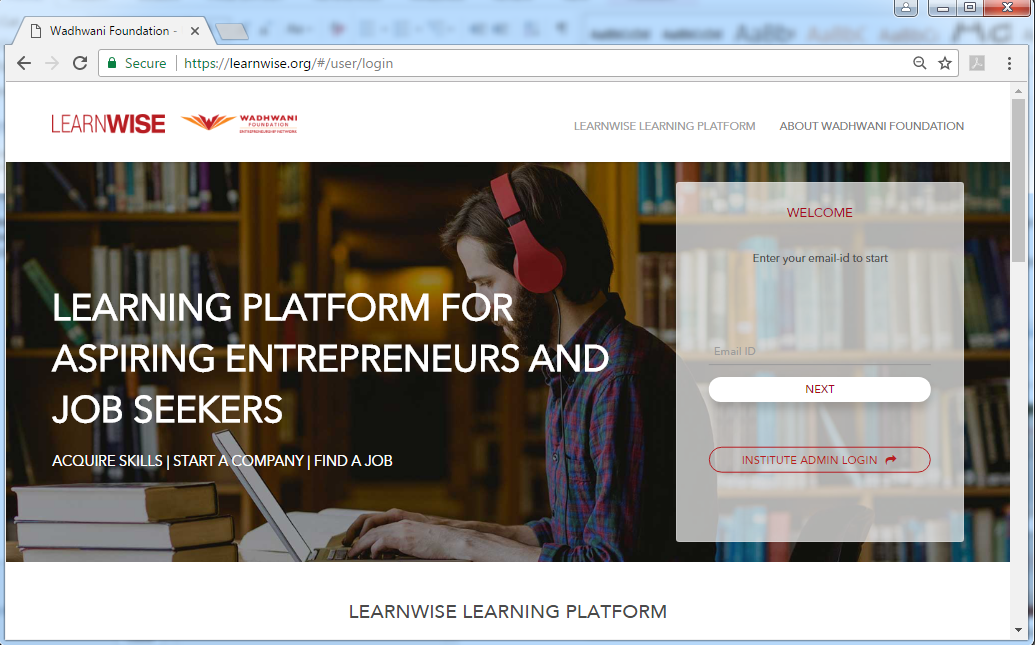
Access LearnWISE Platform at www.learnwise.org. Here you can login with your credentials.
You should receive an email with login credentials. Please reach out to your Wadhwani regional manager if you have not received an email with login credentials.
2. Create a Batch
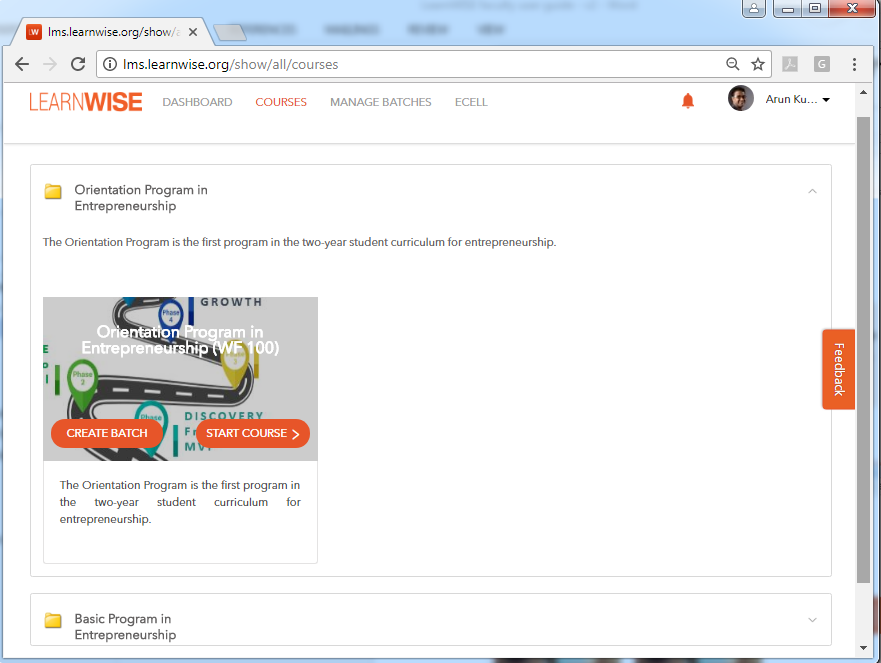
Once you successfully login, you’ll be able to see course listings for your Institute on Courses tab. Every course in your Institute is conducted for a batch of students. For example: First semester 2017, Winter 2017 batch.
What is a Batch and why do we need it?
LearnWISE is designed for facilitated learning (i.e. the course is facilitated by a trained faculty member). Each Facilitator organizes the students into ‘Batches’ to teach a particular Course. This helps organize the classroom activities (showing videos, conducting activities, tracking assignments and quizzes etc.)
You will have to start by creating a batch for any of the courses before you start teaching the course.
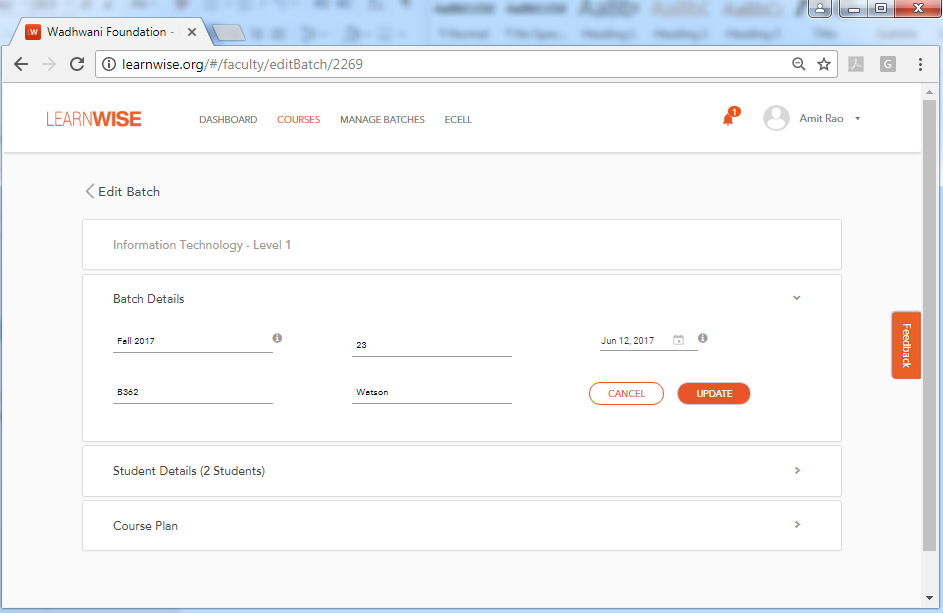
Enter the batch details and have a batch created. You can enter an approximate number of students you expect to have in the batch and an estimated batch start date. You can always come back and re-enter this information once you have accurate information.
3. Add students
Each Batch can have any number of students attached to it. This is an optional step and is not required. There are two ways the students can be attached to a Batch.
- You can enter the student details manually. This is primarily to keep track of how many and which students you are teaching.
- Students can also join the batch by registering from the LearnWISE mobile app. When they download the app and self-register (using your Institute Id), they will be shown all the available batches, including the Batches you have created in the previous step. When they join your Batch, their names will automatically appear in the list.
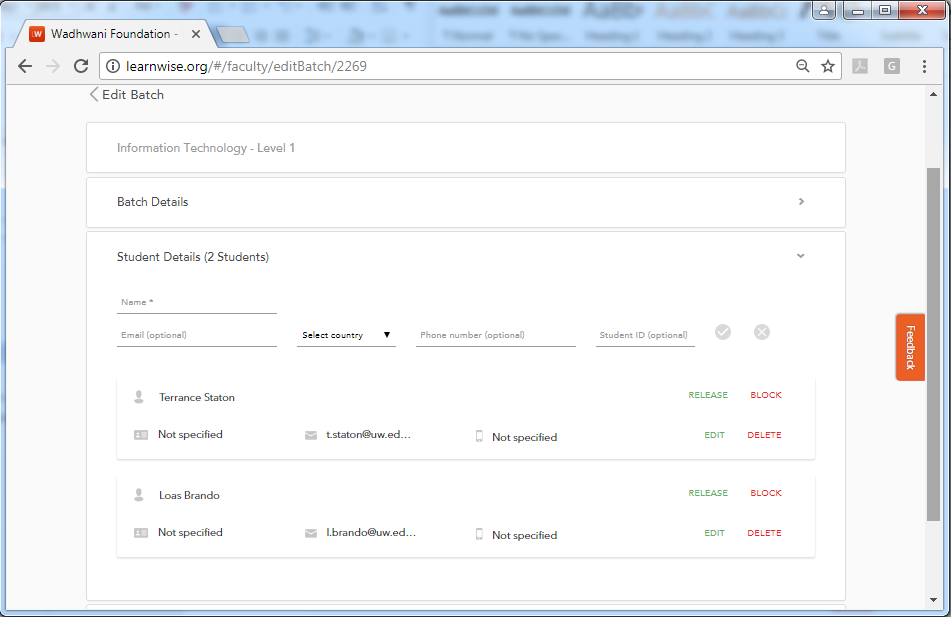
There are many functions available to you to manage the students in a Batch (whether you have added them manually or they joined themselves. The following are some of the functions:
DELETE: Delete a student from the Batch
BLOCK: You can block access to any student temporarily. When you Block someone, they will no longer have access to the Batch and all the activities. You can always UNBLOCK the students that you have blocked.
EDIT: You can edit the details of the students with this function.
RELEASE: If for some reason, you do not want the student to be part of your Batch, you can use the RELEASE function. This will permanently remove them from the Batch. They can then join some other Batch. Remember, BLOCK function does not let them join another Batch because, the system will assume the Student is still part of the Batch but you have temporarily blocked them.
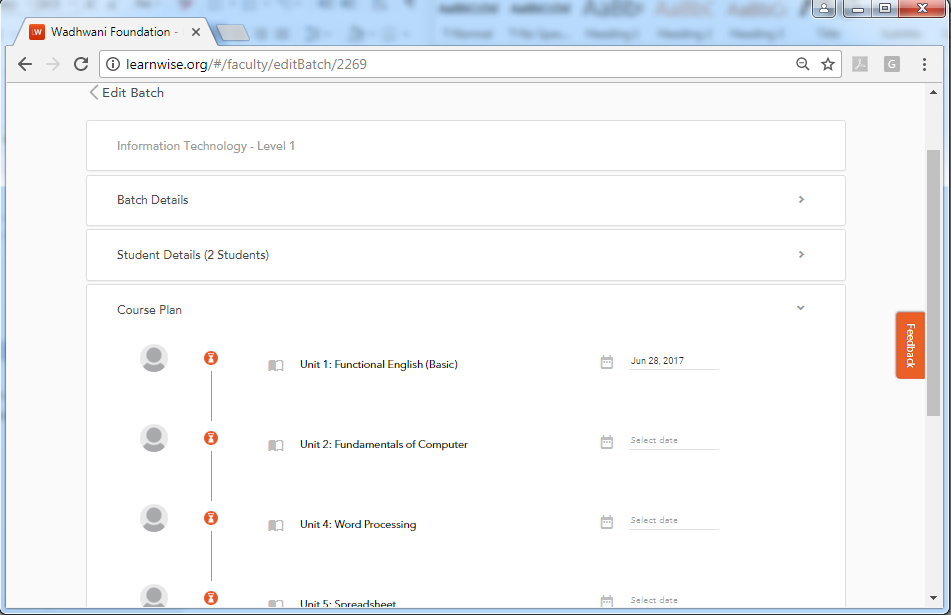
4. Set Course Plan
This is also an optional step and you don’t have to do it. Once you create a Batch (for a given Course), you can set the dates when you want to start the Course. The system will automatically list all the lessons within that Course. You can set the start date for the first lesson and optionally you can also set the dates for other lessons.
If you skip this step, then system will automatically update the dates based on when you actually view the lessons in the classroom mode (explained later). This is a very useful feature to keep track of how the Batch progressed with the Course. Of course, you can always edit the date.
What are the benefits of setting the course plan?
Even though creating a course plan is optional, we encourage you to enter dates, as much as possible. When you enter the dates, the dates will be visible to all the students in the Batch. And they will be automatically reminded when a class is coming up. Remember, the dates can be tentative. You can always change them and they will be automatically updated for the students.
5. Start teaching
Access the Dashboard to start teaching the course for the batch you created. You can track the progress of all your batches on the dashboard.
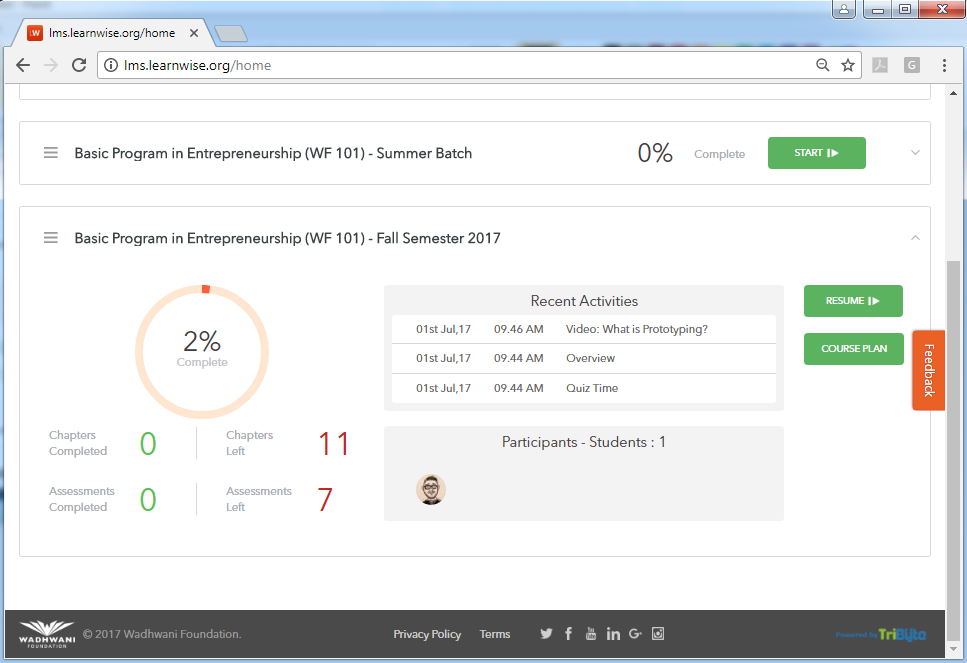
What is Dashboard and how is it useful?
Even though creating a course plan is optional, we encourage you to enter dates, as much as possible. When you enter the dates, the dates will be visible to all the students in the Batch. And they will be automatically reminded when a class is coming up. Remember, the dates can be tentative. You can always change them and they will be automatically updated for the students.
The Dashboard also shows the recent activities as well as the details about the participating students in the Batch.
Once you start the lesson, you will be asked if you are teaching in the classroom. You can choose ‘Yes’ if you are teaching your students in the classroom. Choose ‘No’ if this is only for your preview and you are preparing for your class.